How to create a Quick Connect Profile
You can have a Quick Connect Profile to transfer files between two PC folders, FTP server and PC folder, or two FTP servers.
Click File >> New Connection Profile. Choose the type of connection profile as Quick Connect Profile. The transfer type can be between two PC folders, PC folder and FTP server, or between two FTP servers. For PC folder, you need to specify its path by clicking the Browse button. To connect to the server, FTP connection details are required.
FTP Connection Details
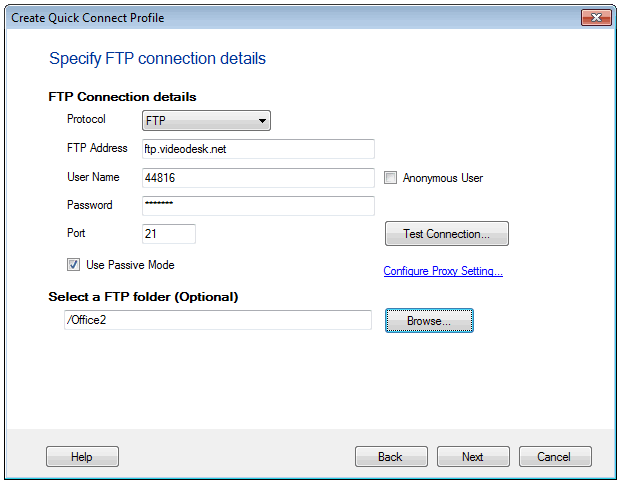
You can securely and reliably transfer files over the protocols, FTP and FTPS. FTP servers have URLs just like the web pages to let you connect to the server and access the files on it. Specify this FTP address, username, password, and port number to connect to the server. If your PC is connected to the server via a proxy, you need to configure the proxy settings. You can optionally select a destination folder on the FTP server to transfer your files.
Save Your Quick Connect Profile
After specifying all the source and destination details, you need to name your profile and save it. In addition to the profile name, you have options that allow you to choose some quick tasks to perform next. As soon as you create a profile, you can open the connection with File Manager and immediately start transferring your files. You have an option to add the automated transfer rules for your Quick Connect Profile. If you have to create more transfer profiles, choose the option Create another profile. You are immediately prompted to create another new profile. To just continue using the profile that you have created without any further actions, choose the option Nothing.
Once you specify these details, your profile is created and is listed in the Quick Connect Profile list.
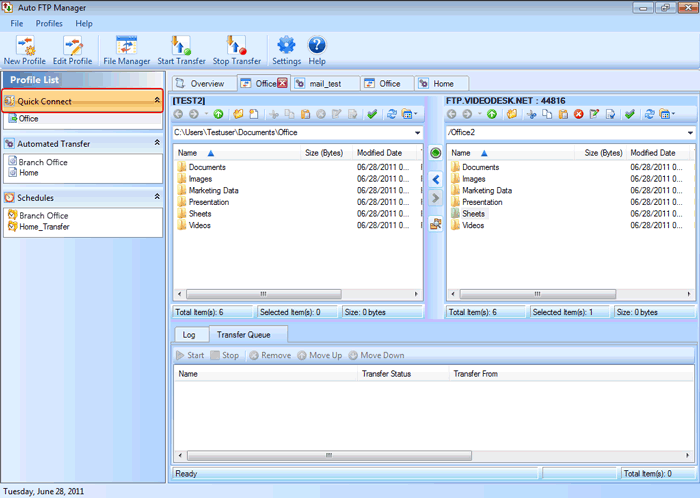
Quick Connect Profiles
Quick Connect Profiles let you use the File Manager to transfer files between folders. The File Manager window is divided into two panels, each showing an explorer-style interface. The files can be dragged from one panel and dropped to other making the transfer easy.
|