Configuring AVI Properties
Audio Video Interleaved (AVI) is a general purpose video file format used in some video cameras and editing software. A wide range of codecs are supported that control how the videos are saved. These codecs affect the size and the quality of the output video.
To configure AVI properties, click Formats >> Select Standard Formats >> AVI >> Configure.
Video Properties
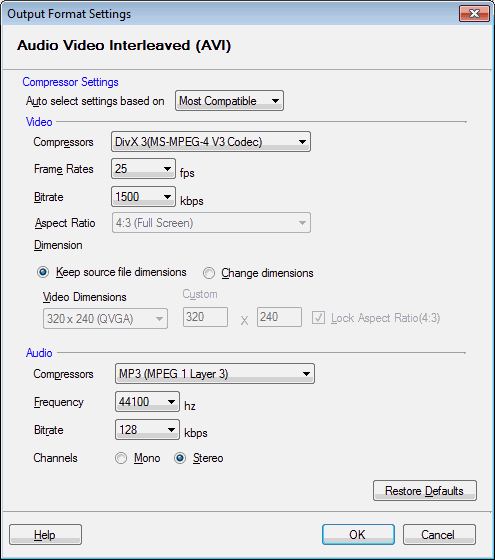
DivX 3(MS-MPEG-4 V3 Codec) compresses lengthy video segments into small sizes while maintaining relatively high visual quality.
You can change the compressor from the drop-down menu. The frame rate is set to 25 fps and bitrate to 1200 Kbps. You can choose to retain or change the dimensions of the video.
Audio Properties
When compressed with MP3 compressor, the media files play on almost all portable audio players. You can change the compressor from the drop-down menu. The frequency is set to 44100Hz and bitrate to 128 Kbps. The Stereo audio channel creates an impression of sound heard from various directions.
Configuring DV-AVI Properties
DV-AVI is a type of Audio Video Interleaved (AVI) file where the video has been compressed to conform to Digital Video (DV) standards. Movies made in the DV-AVI format can be exported to a Digital video camera attached to your PC. You can select NTSC or PAL depending on the standards supported by your Digital Video camera.
To configure DV-AVI, click Formats >> Select Standard Formats >> DV-AVI >> Configure.
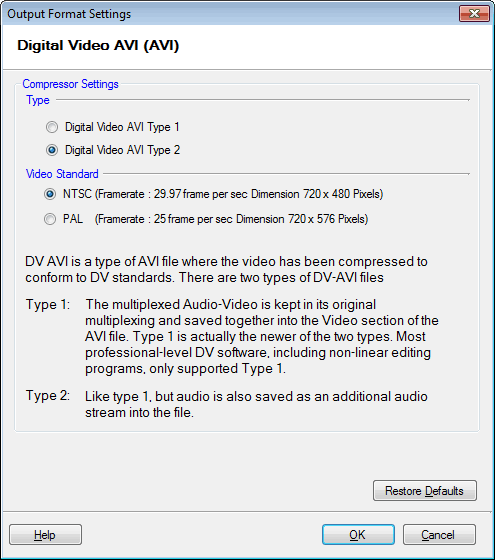
There are two types of DV-AVI files. In Type 1, the interleaved data is stored as one stream in the AVI file. The interleaved data is split into separate audio and video streams in Type 2. For videos, where maximum throughput is crucial, it is better to use a Type 1 file, because Type 2 files carry redundant audio data. On the other hand, the application must extract the audio from the interleaved stream, make the edits, and interleave the data again in case of Type 1.
|