Making a Screen Recording of your Full PC Screen
Recording your Full PC Screen
If you want to record everything that is visible on
your computer screen, then use the Full Screen option. All icons, windows, the taskbar and any item appearing on
your PC monitor will be recorded.
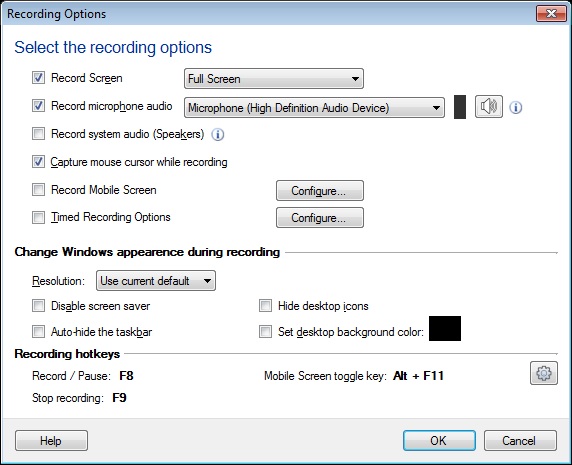
To Make a Screen Recording of the Full PC Screen
Click on File >> Record >>
Recording Options >> Full Screen.
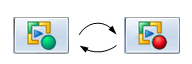
When you start recording, the application window
minimizes. When the recording is in progress, My Screen Recorder icon in the system tray flashes continuously, as shown below:
Add audio narration to your screen recordings to make
presentations and tutorials more interesting. Use a microphone to add your
own audio narration to demonstrate any application or website.
To Select the Audio Recording Device
You must setup a Microphone to record your
narration with the video. Use Record Microphone Audio option and
select the respective Microphone from the Audio Recording devices
dropdown list. Make sure that the Microphone is enabled as your audio
recording device.

You can also include the sounds from the computer
speakers. For example, if you want to capture your favorite music playing
on the PC during your screen recording, you can select Record system audio(speakers).
Recording the audio from the microphone along with the speakers, allows you to
record internet chat or any multimedia applications and add your own narration
to it.
Recording Video without Audio
You can choose to record the screen activity without
audio. Eliminating audio from your screen recordings results in smaller
file sizes.

You need to uncheck both Record Microphone
audio and Record system audio (Speakers) option to record your video
without audio.
Note: If you have selected both Record Speakers and Record Microphone options then make sure both devices should have same
sample rate and bit depth.
Record Mobile Screen
My Screen recorder allows you to capture your mobile screen during screen recording.
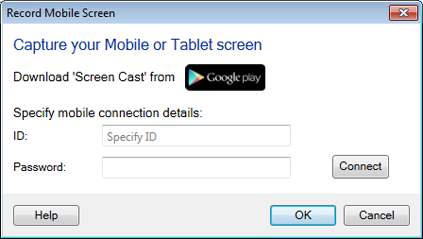
To use this feature, you will need to install Screen Cast application on your mobile device.
Get it now from https://play.google.com/store. Select Record mobile screen checkbox and configure the settings by providing URL or ID, and Password from Screen Cast application. You can use hotkey to cast your mobile to your PC screen.
You can also customize size and position of mobile screen preview window on your PC.
Capture Options
When you record the screen, the mouse cursor is captured by default. You can
use the mouse cursor to highlight text or to point at the items while making a
presentation, tutorial, or demonstration. If you do not want to capture the mouse cursor,
disable it by deselecting the option Capture mouse cursor while
recording.
Timed Recording Options
My Screen Recorder allows you to record last few minutes of screen recordings or you can choose to record for x minutes.
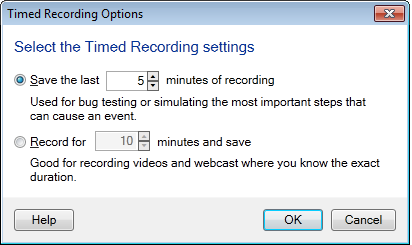
In some cases you may not need the entire
recording. Your requirement is only a few minutes of the last part of the
recording. Save only the last few minutes of your recording, by specifying
the number of minutes, in the Save the last "x" minutes of recordings
option.
If you want to limit your recording time duration then
you can select Record for x minutes and save option. Select a timing
and the My Screen Recorder will stop recording automatically after set time
has reached.
Default Keyboard Shortcuts for Recording
Start/Pause: The easiest way to start a screen
recording is to press the F8 key. The F8 key also acts as a
toggle to pause and resume the screen recording.
Stop: To stop the recording, use the F9
Key.
At the end of the recording, My Screen Recorder will
prompt you to save the file. You can preview the recording in the built-in
media player.
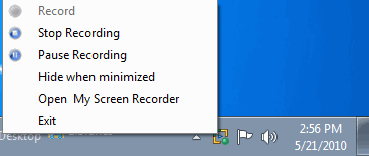
Another way to Start, Stop
or Pause the recording is to right click on the My Screen
Recorder icon  in the system tray. in the system tray.
You can change the keyboard shortcuts from the
Tools menu >> Settings >> Hotkeys tab.
|