|
Creating Audio Files
One of the most powerful features of Text Speaker is its ability to convert your documents into audio files. This feature gives you the ability to listen to your documents wherever you are. The audio files can be produced in WAV and MP3 formats.
Click Speak >> Convert Current File To Audio.
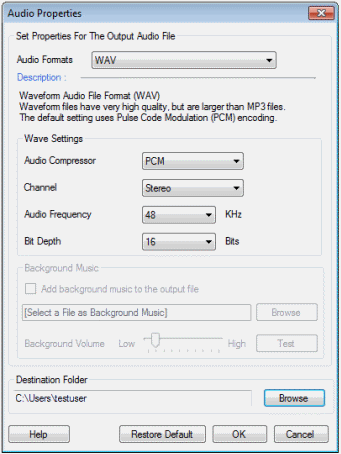
WAV Settings
- Audio Compressor: PCM produces the highest possible audio quality files but with a large size. The files produced by CCITT A-Law and µ Law are almost the same as PCM. The advantage of these techniques is that they modify speech sounds to make the audio more understandable.
- Channel: Stereo mode produces high quality audio and gives you the impression of natural voices.
- Audio Frequency: This setting controls the sampling rate of your audio output. A higher frequency produces better quality, but larger audio files. Generally with Text Speaker the value can be set to 16KHz for optimum audio files. Higher values can be used if the audio is being broadcast or used for commercial reasons. Values of 8 KHz and below introduce noticeable distortion.
- Bit Depth: The accuracy with which sound frequencies are recorded in the file depends on the Bit Depth value. For Text Speaker, increasing this value above 8 generally does not produce a noticeably better sound quality. When adding a background music, the higher the bit depth value, the better the sound quality. Increasing the bit depth produces larger size files.
MP3 Settings
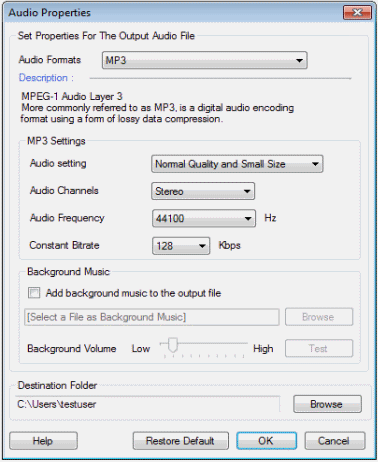
- Audio Setting: Set the quality of your audio file from the dropdown list. The quality you choose will affect the size of your files. The higher the quality, the larger the file size.
- Audio Channels: Stereo and Joint Stereo are the two options available in the Audio Channels dropdown. Joint Stereo can be used when you want to produce very high quality audio files. It compresses the audio files and saves storage space. However, stereo is appropriate to be used when you set the quality as low or normal.
- Audio Frequency: This setting controls the sampling rate of your audio output. A higher frequency produces better quality, but larger audio files. Generally with Text Speaker, 16KHz will produce optimum spoken audio files. Higher values can be used if the audio is being broadcast or used for commercial reasons. Values of 8 KHz and below introduce noticeable distortion.
- Constant Bitrate: The number of bits processed every second is the bit rate. The higher the bit rate, the larger the files and the better the audio quality. When you want to add background music to your audio file, increase the bit rate for higher quality.
Add Background Music
Listen to long articles with a soft background track. When converting your document to MP3 format, you can combine speech with music. The file formats supported for the background music are MP3, WAV, AIFF, WMA, MPA, ASF, MPEG, MPG, and M1V.
Click Speak >> Convert Current File to Audio. Choose to convert to MP3 format so that you can add background music. Enable the option Add background music to the output file. Browse for the music file that you want to add. When you choose the file, click Test to listen to how it sounds. You can adjust the volume with the help of the slider.
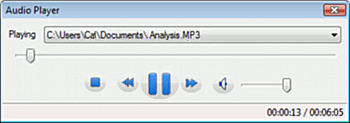
The time taken for the process to complete depends on the length of the document. Once the audio file is created, right click on it in the File List and click Play Audio File.
Batch File Conversion
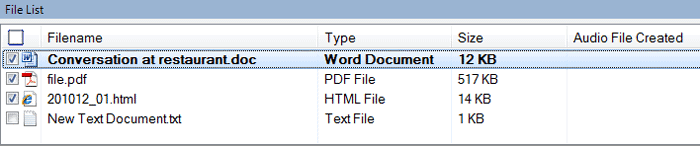
Save time by converting multiple documents to audio files with Batch conversion. Select the files in the File List for conversion. Click Speak >> Convert Selected Files to Audio then set the audio properties.
To convert all the documents open in Text Speaker, click File >> Convert All Files To MP3 Audio / WAV Audio.
|