Backup and Restore Your Transfer Profiles
The Backup profile feature can be used to save profiles in situations where you need to format your disc or use them on other computers. Both, the Quick Connect as well as Automated Transfer profiles can be backed up. These profiles can be anytime restored when required.
Backup your Profiles
To create a backup of your profiles, click File >> Backup Profiles.
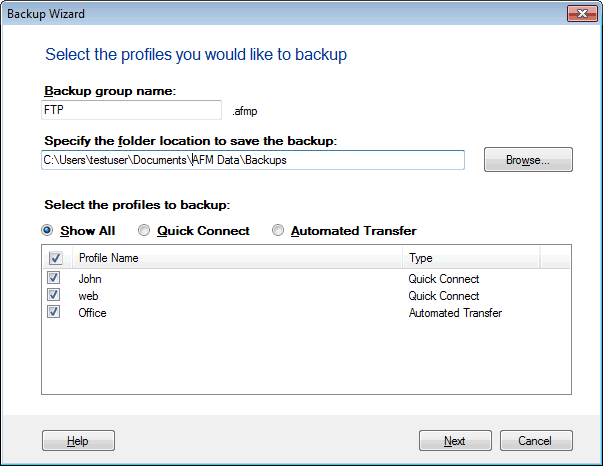
All the Quick Connect and the Automated Transfer profiles that have been created are displayed together in a list by default. If you are only interested in Quick Connect profiles or just the Automated Transfer profiles, you have options to view them separately.
You can backup a group of profiles or a single one. Give a name to your backup group and specify a folder location to save it. Your backup is saved with a.afmp extension to your specified folder.
Restore Profiles
When you install a newer version, all your profiles are automatically transferred to the newer version. All profiles that were saved can be easily restored back. To restore profiles, click File >> Restore Profiles.
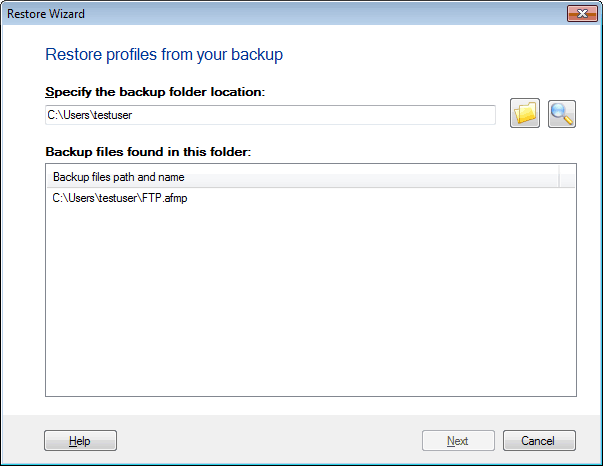
Specify the backup folder location with the Browse button so that you get a list of backup profiles present in the specified folder. Select the profile you want to import from the list to restore.
Note: If you were using versions of Auto FTP Manager older than 3.5, you can import your Quick Connect Profiles from them. All other type of Profiles must be created again.
|