Transfer Log Settings
You can set Auto FTP Manager to save the transfer log after each Automated Transfer. The log can be saved to your PC, a network drive, or an FTP server. In addition, there is also another option which allows you to send the log as an email.
To configure Transfer Log Settings, click File >> Settings >> Transfer Log. Whenever you perform a file transfer, a log is generated. You can choose to save every log or just the one that was created when a file transfer failure occurred.
Save the Log on PC or Network Drive
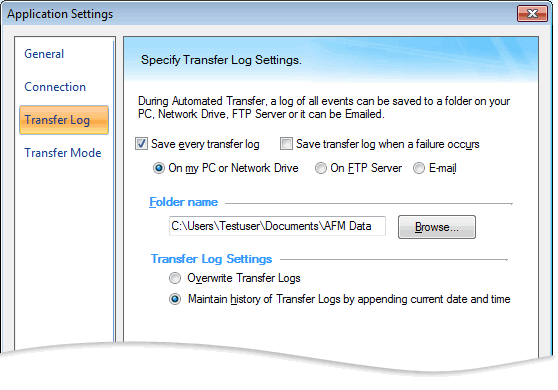
When you choose to save your log on your PC, select a destination folder with the Browse button. If you transfer files more frequently and are interested only in the latest transfer log, then choose the option Overwrite Transfer Logs. Every time you perform automated transfer actions, the previous log is replaced with the new one. You can keep a track of all the logs by not deleting the previous one. Enable the option Maintain history of Transfer Logs by appending current date and time.
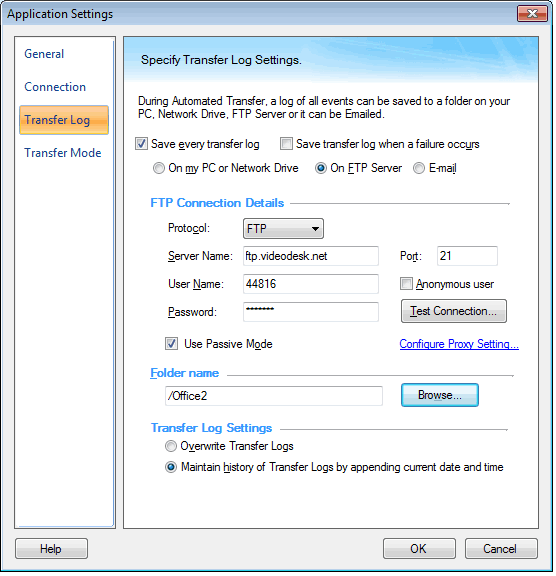
Save the Transfer Log on FTP Server
A remote location is always the safest option to save the important data. Your transfer log can be saved on FTP server. You just have to specify your FTP connection details and your transfer log is protected. FTP connection details include the server name or the FTP address, username, password, port number, and destination folder on the server. There is a Test Connection button that allows you to check your PC connection with the server.
You can connect your PC to Internet either through a Proxy server or directly. If your computer connects to FTP through a proxy server you will need to enter your proxy settings.
Send the Transfer Log as an Email
If you want to always know the status of scheduled transfers, you can have Auto FTP Manager send you a copy of the Transfer Log after each Scheduled Transfer is completed.
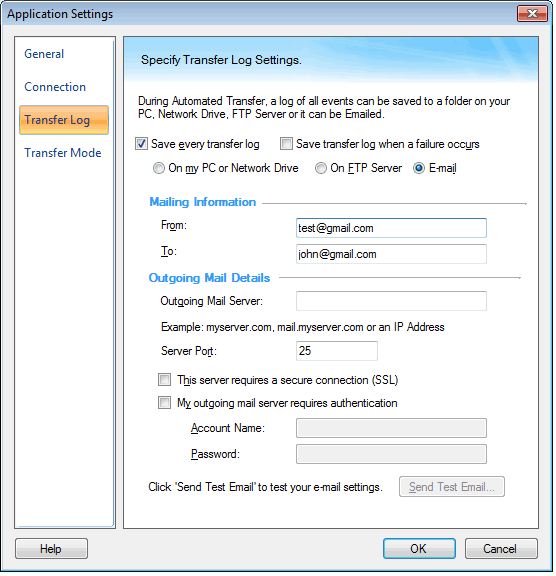
If you chose to send the log as e-mail, enter the mail details. Mailing Information requires you to specify the email addresses of the sender and the receiver. You can include multiple receivers separated by a comma.
Outgoing mail details includes selecting the server recommended by your Internet Service Provider (ISP), if your company does not have its own mail server. Consult your ISP or system administrator for assistance with these settings.
With Send Test Email button, you can test your mail settings. If the settings are correct, a test message will be delivered to all specified addresses of the receivers.
|