|
Voice Profiles
Before you can start using Dictation Pro, you must create a Voice Profile. Voice Profile is unique for each person who is dictating. It stores the information about the way a person speaks such as certain words, vocal accent, etc.
Multiple voice profiles can be created. Each voice profile has a separate speech and vocabulary information. Creating individual voice profile helps when you share your computer with others. As people have different voice patterns, they can create a separate voice profile. One advantage of creating a voice profile is that it does not get affected by the profiles of other people who log on to your computer. When you use your voice profile for dictation, it increases speech recognition performance for you.
Another advantage of creating a voice profile is when you use two different microphones. For example, you can create two voice profiles, one adapted to your home microphone. The other can be adapted to your company microphone.
Creating your Voice Profile
When you launch Dictation Pro for the first time then Profile Creation wizard is shown and leads you through creating your Voice Profile.
- Step 1: To create a new Voice Profile, click Speech >> Create Voice Profile. Select the Microphone wizard as shown.
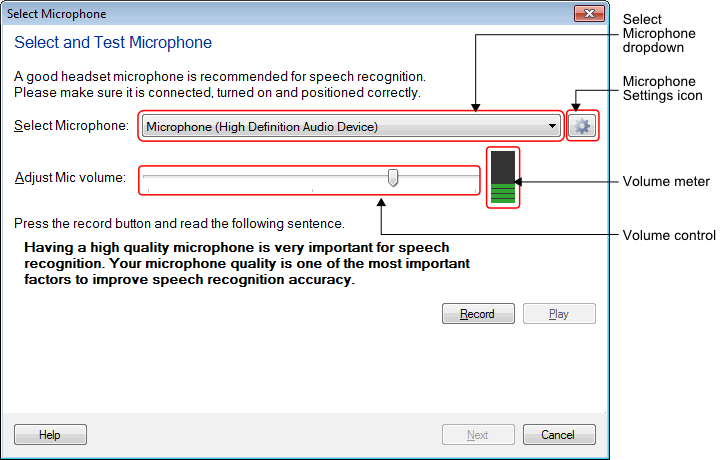
- Select Microphone dropdown: Displays all the Microphone devices attached to PC. This dropdown shows the name of your microphone. System's default microphone is selected in dropdown. You can select another device from this drop down. When no Microphone is attached to PC then enable microphone link is displayed:

- Microphone Settings icon: Configure device properties using Microphone Settings icon. When enable microphone link is shown then click the settings icon
 to open the Windows Sound dialog. to open the Windows Sound dialog.
- Volume meter: Properly connect a microphone to your sysytem. When a microphone is connected then you can see the sound bar is shown in the Volume meter. If sound bar is not shown then click Microphone Settings icon and check if your microphone is shown in the list. If it is displayed, right click on it and select enable. At times even after enabling, the sound devices may not work properly. You may need to update the sound drivers for the devices. When your sound drivers are successfully updated you can again follow the above steps.
- Volume control: Use the volume control slider to control the audio level for the selected device.
- Step 2: Check Microphone
Positioning the microphone correctly is important. Tips to position Microphone properly. After you have positioned the microphone and see the sound bar in Volume meter click on Record button and read the message that is displayed in bold. When finish reading the text, click the Play button to listen to how you sound. You may then verify speech and volume. You can adjust the volume to a desired level with the help of slider. Once your are done adjusting volume, click Next button and start voice training.
- Step 3: Train your Voice Profile
Train Dictattion Pro to understand your voice. Training either during or after creating a Voice Profile enhances your recognition accuracy. Read aloud the text displayed on the Voice Traning dialog. You need to read for only about 5 - 10 minutes to train Dictation Pro recognize your voice. You can take breaks during this training by clicking Pause.
Note: User are requested to go through complete voice training process. By this the application gets trained and recognize the voice better.
- Step 4: Provided name to your Voice Profile
Once the training is completed, Dictation Pro will ask you to provide a Voice Profile name.
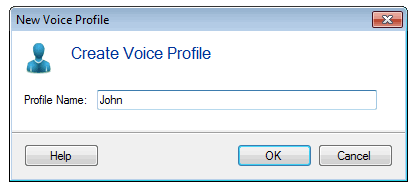
By default, your system login name is shown. You can provide any meaningful name, that will help you to recognize this profile. For example: your name. Click on OK button and your Voice Profile is created. Application will ask you whether to start dictation with this Voice Profile. You can decide and start using this Voice Profile.
|