Add or Edit IP Cameras
Add or Edit an IP Camera
An IP Camera is a digital video device that sends
video over an IP network in real time. Captured images from an IP Camera
can be viewed on your PC through a network connection. IP Cameras do not
plug directly into your computer like webcams.
To connect a new IP camera, click Camera >>
Add Camera and select the option IP Camera.

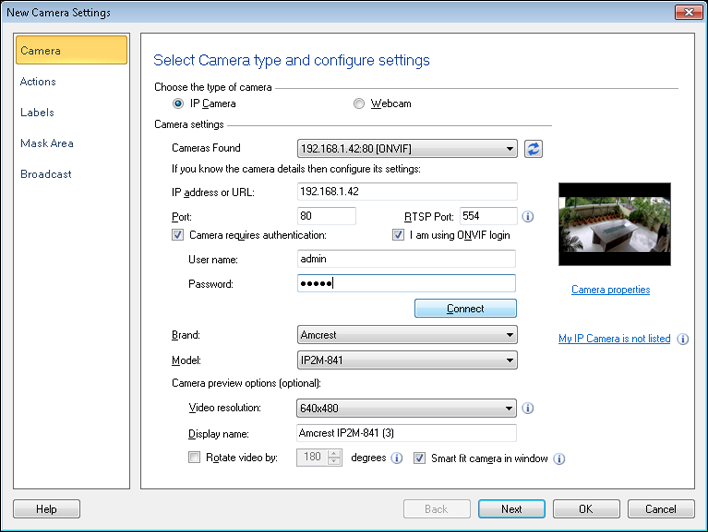
On opening the New Camera Settings dialog,
Security Monitor Pro will start searching for both ONVIF and UPnP IP Cameras
present in your network. All auto discoverable cameras will be listed in the Cameras Found dropdown list as shown below:
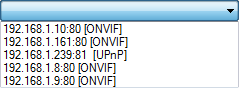
Select a camera from the Cameras found dropdown
and its associated camera details will be automatically updated on the New
Camera Settings dialog. Some cameras require authentication to view the
video stream. If your camera does not support ONVIF login, then uncheck the
I am using ONVIF login option. Specify the User name and
Password using Camera requires authentication checkbox. You
can also manually connect to an ONVIF camera present outside your Network by
clicking on Connect button after entering all the critical
details of the camera.
Critical details of the camera include the following
fields on UI:
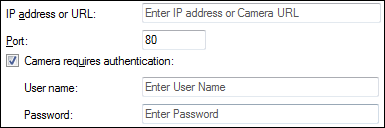
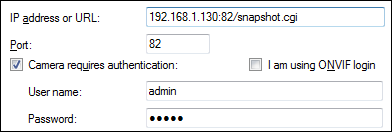
You can also add your camera directly by entering the camera URL.
This is helpful if you do not know the camera brand and model. Just copy or enter the camera
URL along with IP address. If camera requires
login credentials then provide it and click on Connect button to see the camera preview.
If your IP camera is not compatible with ONVIF then
select the Brand and Model from the drop-down
list. If your Model supports MPEG-4 / H.264 then RTSP
Port will be visible.
If your Model is a Video server then the
Display Camera dropdown will be visible.
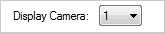
By default, the first camera will be
selected. The number of supported cameras in the Video Server will be
listed in ascending order.
The Video resolution drop down list allows you
to select a preview resolution for IP Cameras that offer multiple
resolutions. If you want, you can name the camera in the Display
name option. By default, the Camera Brand and Model will be
displayed as the name of the camera.
Use the Rotate video by option when the camera
is mounted upside-down, for instance when hanging from a ceiling or under a
shelf. You can rotate your camera view by 1o up to
359o. The camera view, and all recorded videos and photos are
rotated by a specified angle.
Use the Resize video to fit in window option
when you want the camera image to fit in a preview window. The camera image
will be resized and adjusted according to the size of the preview window.
To test if Security Monitor Pro is able to connect to
the specified IP Camera, click Connect. If successful, the
camera video stream will appear in the preview window.
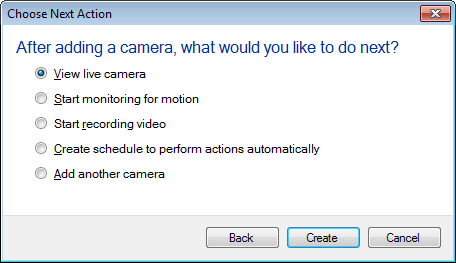
When you add a camera, you can choose the next action to perform.
These actions include view live camera, start monitoring,
video recording, add a schedule or add another camera.
My IP Camera is Not Listed
Security Monitor Pro supports different types of IP
cameras. Selecting a specific model tells Security Monitor Pro which URL
to use to get the video stream. If your IP Camera is not listed then send the
following information to our Technical
Support Team.
- Camera Brand and Model
- IP address and Port number
- User name and Password
A profile will be created for your camera Brand or
Model. In the next release of Security Monitor Pro, your camera model will
be listed in the dropdown.
|