Setting up Team Task Manager (Full Installation)
The Full Installation of Team Task Manager will install the Database Server and the Client software. This PC will be recognized as a server PC that stores all the important data. Using the Client software the PCs in your network can connect to the Database Server.
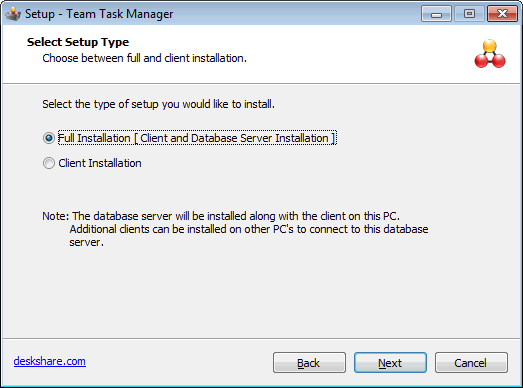
If you have selected Full Installation, click on Next and follow the instructions in the setup dialog box. The database will be installed on this PC. After the Full Installation is complete, the last page of the setup will show an IP address which you will need to use in the Client software. Click Finish to exit the setup and launch Team Task Manager.
At the first launch of the Client software, you will need to connect to the database server by entering the name or IP address of the database server. After successful connection to the Database Server, the Create Admin Password dialog will be displayed for the first time.
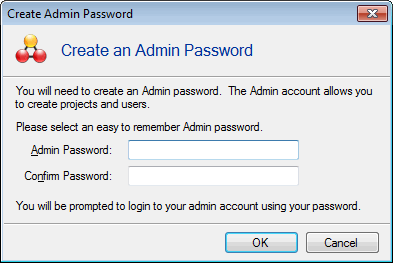
You will need to select an Admin password. The Admin account allows you to administer Team Task Manager. You will need to login as the Admin to create projects and users.
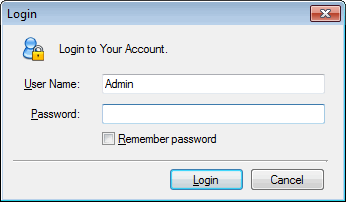
Congratulations! You can now login to Team Task Manager using your newly created password.
|